
 What is GPS Scanning?
Once you have the scanner programmed, this feature will allow for preset scanning, making it easier and safer for you to monitor a specific area while you’re driving. The scanner, along with the GPS Receiver, will turn on and off each programmed group as you travel. How is this done? The ARCXT software allows you to set up a center point’s latitude and longitude for each group. Let’s say your home town is in group one, you can find the center point by simply entering your zip code in the software. You can set the scanning range anywhere from 0.5 to 100+ mile(s). As you approach X mile(s) of that center point, the group will become unlocked. GPS Programming will also work with trunking systems. If you set up the trunking systems with multiple sites, you can set up each site with a center point and range.
Parts needed for this project:
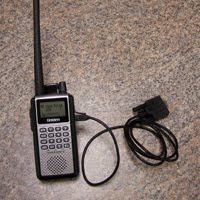
Scanner – BC346XT or BCD396XT
Uniden 4’ Serial Cable (included in the scanner box)
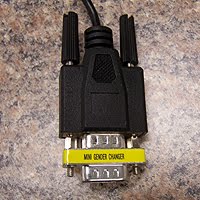
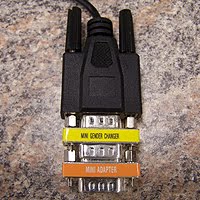
Mini Gender Changer
Null Modem
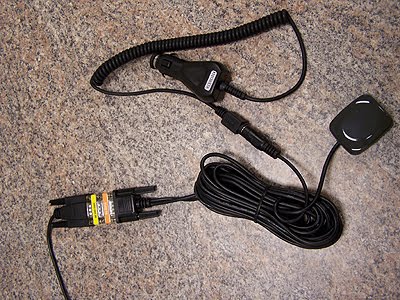
GPS Receiver
Once you have these features follow the step-by-step instruction below:
Step 1: Plug the “Uniden 4’ Serial Cable “mini plug” into the scanner
Step 2: Plug the other end of the Serial cable into the “Mini Gender Changer”
Step 3: Plug the Mini Gender Changer into the Null Modem
Step 4: Plug the Null Modem into the Serial end on the GPS Receiver
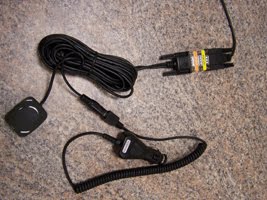
Step 5: Plug in the Cigarette Lighter on the GPS Receiver into a available DC power outlet in your car.
Step 6: Place magnetic GPS Antenna on a flat surface on the trunk or vehicle’s roof.
Step 7: Power up the scanner (It may take several minutes to process the GPS info in the scanner)